Maybe you’ve heard something about the Suzuki Method for studying the violin. Or maybe you saw a group of kids at a festival, playing a bunch of tiny violins. Or, perhaps you’ve been looking 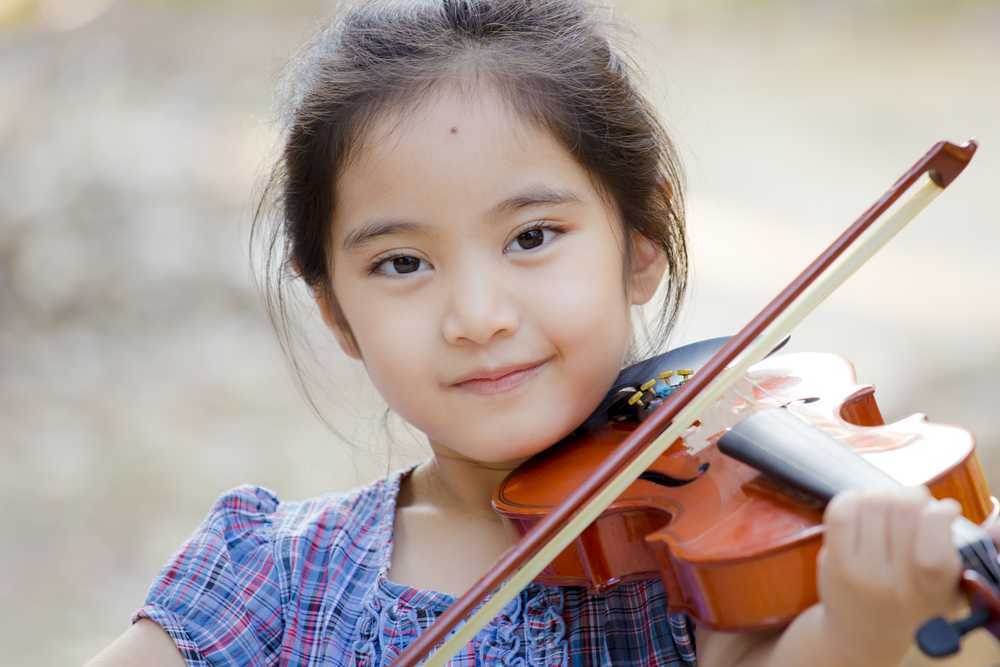 around for a good way to get your young child started in music and you saw something about three-year-olds learning to play “by ear.”
Welcome to the Suzuki Method. It is a system of music study that originated in Japan, in the years following World War II. Founder Shinichi Suzuki, who studied classical music in Germany, used the “mother tongue” method to help engage small children in the process of classical music making.
What is the “mother tongue” method? It works something like this: a child learns to speak her native language by being surrounded by it. Think about it: parents and caregivers are always speaking the language. The child is encouraged to copy the sounds and is rewarded for performing different speaking acts well. Thus, the child becomes fluent in the language, and is able to keep the skill for life.
In the same way, in the Suzuki violin method, an environment of musical excellence is created to encourage the child towards violin proficiency. Sounds hard – but isn’t, really. All you need is a good teacher, a willing parent, a ready child, and a decent sound system.
When to Start Suzuki Violin
Many children begin studying Suzuki violin at an early age – some begin at age 3, others a little older, at 4 or 5. The parent contacts a Suzuki teacher and starts the conversation about learning music.
Every instructor will have a different approach to getting a child started. But every approach should include a lot of listening – daily listening to the repertoire, so that the pieces are just part of your child’s memory bank. You can also add other classical pieces, like favorite symphonies or concertos, to give inspiration to your child and to remember why you’re getting into the music game in the first place!
In setting up a first Suzuki experience, some teachers want to have a parent and child observe other lessons (anywhere from a couple of lessons to several months’ worth), to see if the family is certain about their involvement in the Suzuki process.
Other teachers may want to have a trial lesson with your child, to see if he or she is ready to start learning to play. One rule of thumb to keep in mind: if a child can stand and stay focused for 10-15 seconds as you or a teacher counts, then the child is probably ready. If that sounds like too long of a time to stand still and focus, then you should let the child mature a little more before starting with lessons. The maturity point varies with every child – wait until the child is ready. That will save you a lot of frustration later on.
Teacher-Parent-Student Triangle
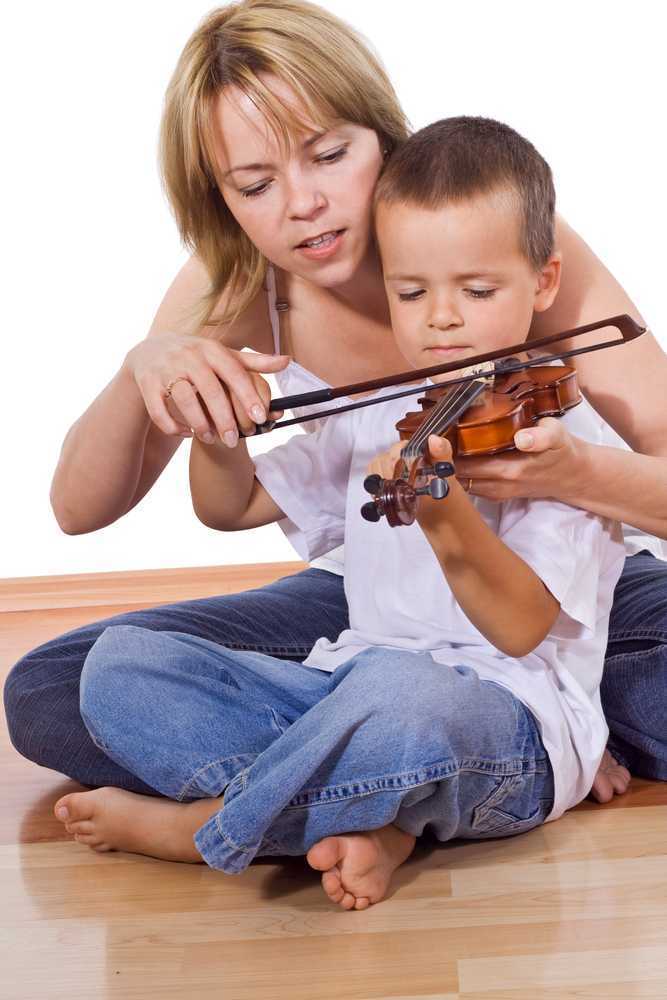
Suzuki violin focuses on the Teacher-Parent-Student triangle. The teacher is the lead instructor. The parent is the head coach and “home teacher.” And the student is the active participant, testing and practicing the different things presented in lessons.
Parents are expected to attend, take notes, and pay active attention at lessons. Sometimes, this means that the mom or dad is actually helping the student shape a bow hand, or is copying a movement the teacher demonstrates, to help with violin posture. Parents take pictures, film videos, and write things down so that, when it comes time to practice at home, everyone remembers what they’re supposed to work on.
Mom or Dad is also responsible for making sure the child listens to the recordings and gets a practice session in regularly. Most three-year-olds probably aren’t going to remember everything that was said in a lesson, and they definitely don’t understand why. That’s why the parent is involved – to help guide the child’s actions.

Especially with young children, lessons probably will not start out with a real violin. Again, every teacher has a different technique. Some teachers favor a sponge violin – it’s a real sponge, cut into a violin shape. Others prefer a “box” violin, usually a box mix of something like muffins or cake, with a paint stick attached for the ‘neck’ of the instrument. That way, if the child accidentally drops the instrument (and it happens frequently), there is no damage to the violin, and there is no trauma for the child. When the child isn’t worried about what will happen to the instrument, he can focus on making sure his posture is good. And that is the goal.
Posture and Progress
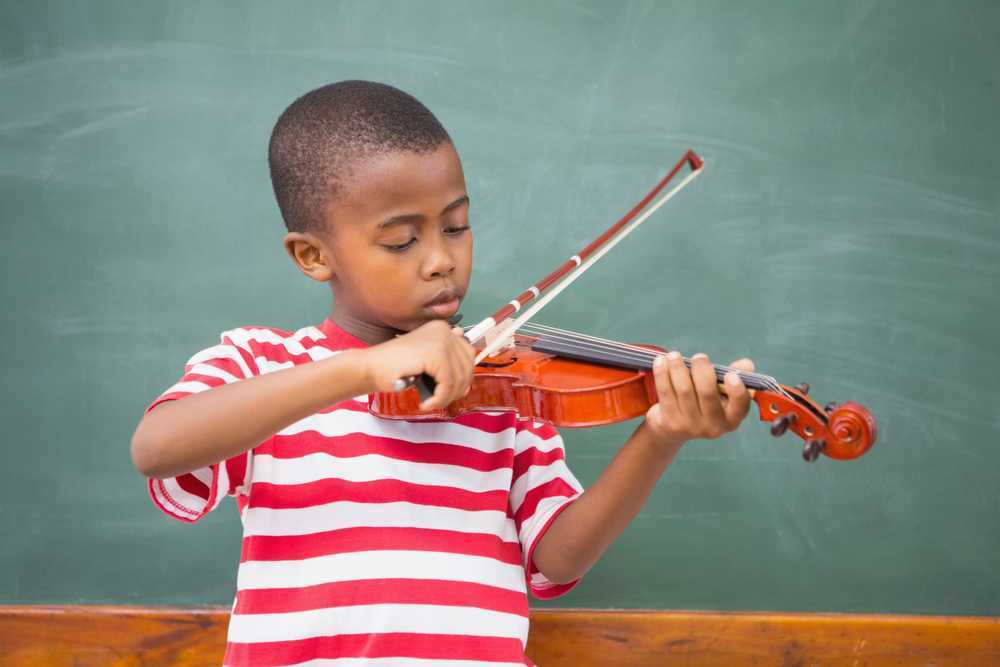
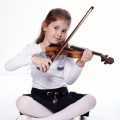
In Suzuki violin, the focus begins with good posture. Once posture is good, the child is set up for a relaxed playing stance – there should be no tension or gripping of anything. While it is possible to play with a clenched wrist or neck, this will cause injuries later on, so it is best to start out with a comfortable posture to prevent trouble in the future.
Once the student has good posture, then the music can start. Suzuki violin method music books are set up in graduated levels of difficulty. There are ten books which begin with the simple tune “Twinkle Twinkle Little Star” and end with two Mozart Violin Concertos. A lot of learning takes place between the first and last books.
As the system was designed by Suzuki, each piece presents a new technical challenge. Maybe it’s a first experience with making “circles” in the air with the bow, and creating a smooth landing between violin string and bow during the “Allegro” tune. Perhaps it will be the use of staccato bows in the catchy piece, “Gossec Gavotte.” Whatever each new piece in the book presents, the student is gradually accumulating new techniques and skills that will help him master the repertoire in later books.
Because every piece is a building block, many Suzuki teachers will encourage students to review their old music. Some teachers have a system that allows the child to review all the pieces in the repertoire each week or every two weeks, other teachers have a different schedule. The end goal, however, is to keep the skills fresh. Think of it this way, once a child learns a new phrase or word, she doesn’t quit using it because she ‘gets’ it. No, she keeps using it, and figuring out different ways to fit it into the lexicon of her language. The same thing works with review and Suzuki pieces – you get it, you practice it, and then you can keep it.
Lesson Types
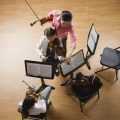
While Suzuki violin is taught largely through private lessons with the parent, teacher, and child, there are also group classes offered by some Suzuki programs. Group classes are usually divided by 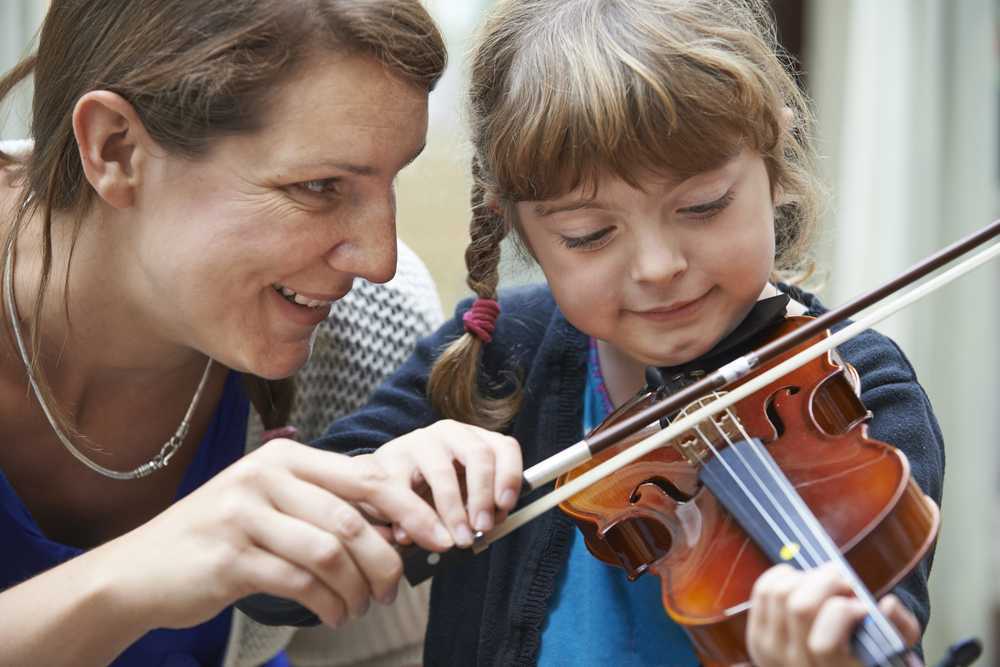 the different playing levels – for example, there could be a “Pre-Twinkle to Lightly Row” group, a “Book 4-5” group, etc. Children who have reached a similar level of repertoire are led by a teacher in playing familiar pieces together. This builds young violinists’ skills in playing as an ensemble – starting together, pausing or adding dynamics, and following a leader. It also serves as a great incentive to encourage students to “get to the next piece” when they hear other kids playing more advanced repertoire.
Then there are also summer institutes. Dozens of Suzuki Institutes are held across the United States and around the world every year – you can check the Suzuki Association of the Americas website for the locations of these special musical events.
Think of an institute as a vitamin for your child’s violin playing. Your instructor may recommend a specific institute for you, or you may just choose the one you wish to attend on your own. Suzuki institutes last for a week or two – you decide how long you choose to stay. Typically, an institute involves group classes, semi-private lessons, technique, and movement or orchestra meetings every day. The benefit of these institutes is that you can see such a variety of teachers, and experience so many different styles of learning in such a short time. Students are thoroughly engaged in the whole experience, and parents and students are wonderfully encouraged by peers and faculty. It’s a great way to gather new ideas.
Getting Started with Suzuki
If you want to become involved in the Suzuki method of learning violin, here are a few tips to help you get started in the process.
- Find a teacher who is registered with the Suzuki Association of the Americas. Registration with the SAA means that the teacher has taken training in the Suzuki methodology and is familiar with the repertoire in the books. Many teachers will broadcast this information on their personal bios (including their Musika profile!), or with other advertising. You can also see if they are listed as part of the Suzuki Association’s online reference page.
- Ask the teacher how long beginner lessons will be, and how frequently they will meet. Especially for young children, a 15-minute lesson once a week is plenty of time for standing still. As a child matures, longer lessons can be taken.
- What other classes are offered by this instructor? Is group class or orchestra or rhythm class part of the tuition? Some programs have early childhood education, which prepares infants for Suzuki learning. Other programs include events for older players, those who can read music and who want to participate in chamber music ensembles.
- Finally, ask the instructor how he or she judges success. While working through the books can be an indicator of progress, it doesn’t always mean that the student has mastered the techniques thoroughly. Progress should be judged from the point of proficiency and comfort – when the student has good posture and is comfortable in performing the tasks within the piece, then progress can be claimed.

The Suzuki Method of learning the violin is an involved process. But the end goal is to help a child become not just a good violinist, but also a well-rounded individual who is capable of accepting challenges and finding ways to solve problems. Although it can be an intense process, the end result is worth the work.
Recommended Articles for You
 Suzuki Performance: An Approach to Playing for an Audience
 Suzuki Institute 101: A Beginners Guide to Summer Institutes
 Siblings in the Suzuki Studio
 Suzuki Practice: A Daily Event
 The Best Age to Start Violin Lessons
 Teaching Violin: Tips for New Teachers
 Music Lessons for Kids: How Young is Too Young?